-40%
Button Badge Maker Machine 1''+1.25''+2.25'' 3Sizes 300pcs Parts Circle Cutter
$ 52.74
- Description
- Size Guide
Description
Button Badge Maker Machine 1''+1.25''+2.25'' 3Sizes 300pcs Parts Circle CutterSpecification
About this item
Button Maker Multiple Sizes:
1 inch(25mm), 1.25 inch(32mm), 2.25 inch(58mm). Comes with complete crafting materials for 300 button badges. Pay Attention To distinguish the small and medium molds, do not install the wrong mold
300 Pin-back Button Badge Kits:
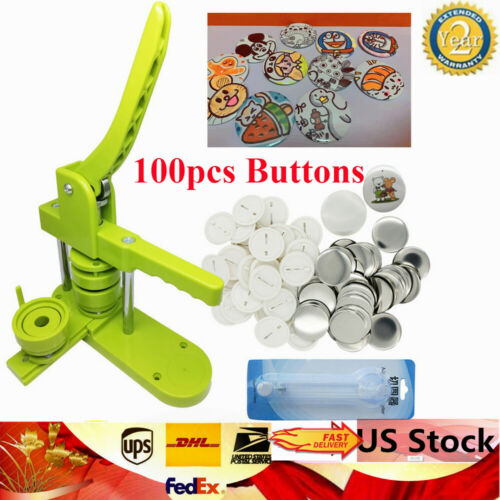
You can make 300 plastic button badges(100pcs for each size). The complete packaging kit makes a total of 300 pin buttons. The included circle cutters make it possible to make your own pieces of paper in the desired size
Easy to Use:
Makes a badge in less than 15 seconds after installation.Please watch the using video or manual in detail before use.The included pin buttons do not require a plastic washer in making(only the 1.25" and 2.25" metal buttons require a washer). But considering that guests will buy extra supplies from the market, we have included extra 1.25'' and 2.25'' washers for you to use when making metal badges
Save Time and Energy:
The badge button maker adopts the appearance of high-strength engineering plastic, the body and the mold are integrated, light weight and easy to operate. A top-rotating die not only improves efficiency and accuracy, but also facilitates better positioning. You will take less 15 seconds to make a badge when installed correctly
Creative Gift:
DIY Personalized Badge. Can be used for photo storage, ornament decoration, wedding name tags, classroom crafting, etc. We look forward to more creative design showcases from you!
DIY Your Own Badges
You can create your own design, assemble the badges, and then hand them out or sell them as needed.
How Do You Get a Good Design on Your Button?
With the right covers and plastic backings, you should be able to use any round piece of paper and make a durable button. However, basic printer paper can lead to poor saturation and resolution images. Photo paper is better for more detailed images. Play around with ideas and make sure to cut your designs to the right diameter for the machine.
The size of the button made: 1'', 1.25'', 2.25''
Have an ergonomic handle with enough pressure.In the second press, apply enough force to bring all the elements together.
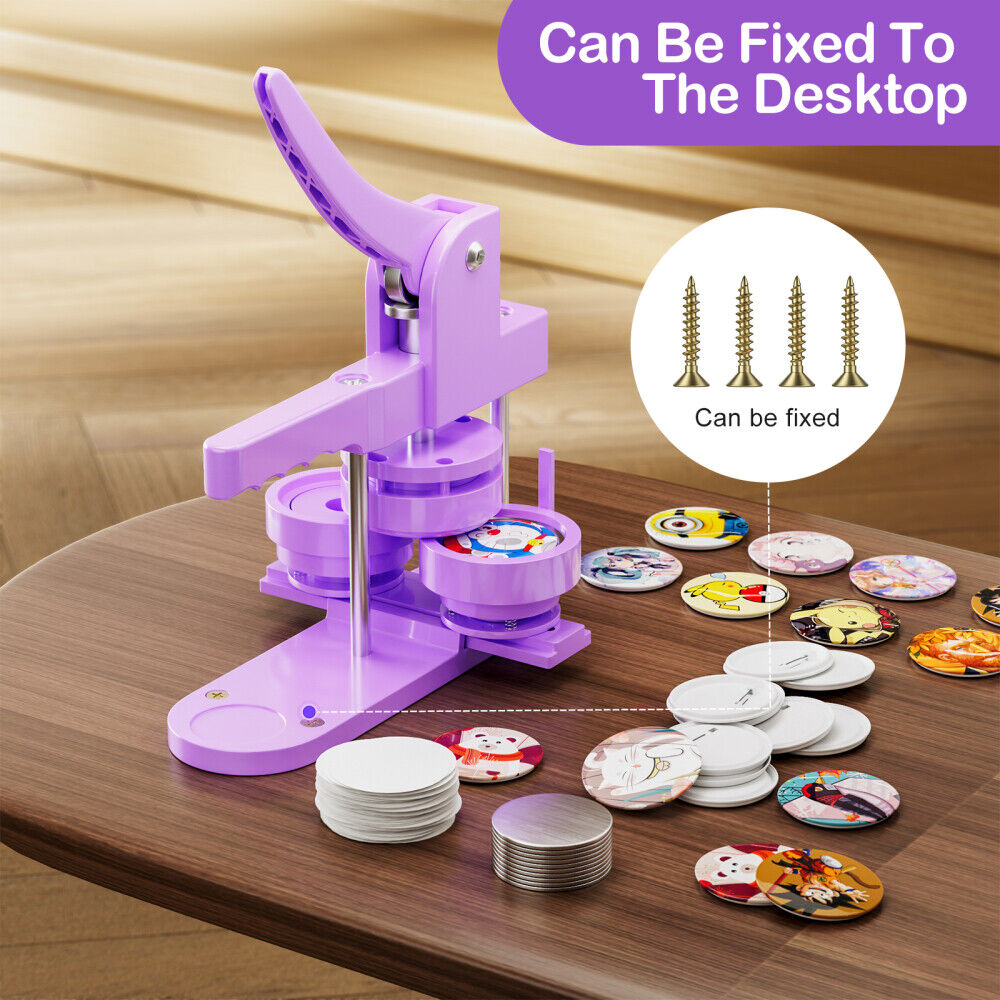
The body is made of durable plastic and is lightweight at just 5 pounds. Can also be fixed on the table with screws
There is a slide system for automatic positioning after properly installed. Have two compartments for setting up and pressing buttons for a smoother process.
After you are proficient, you can make a badge in about 10 seconds
You can make a total of 300 badges. 1''# 100pcs, 1.25''# 100pcs, 2.25''#100pcs
We opted for a more durable PP plastic back instead as the metal will rust when exposed to moisture over time.
A full set of crafting materials
These molds are suitable for badge making materials marked 1", 1.25" and 2.25" on the market.
Package Contents
1 x Button Maker Machine
1+1.25+2.25 inch Molds
1''# 100 sets
1.25''# 100sets
2.25''#100sets
3 pcs Circle Cutter
3 metal pins & 4 screws & 2pcs L wrench
Manual
Attention:
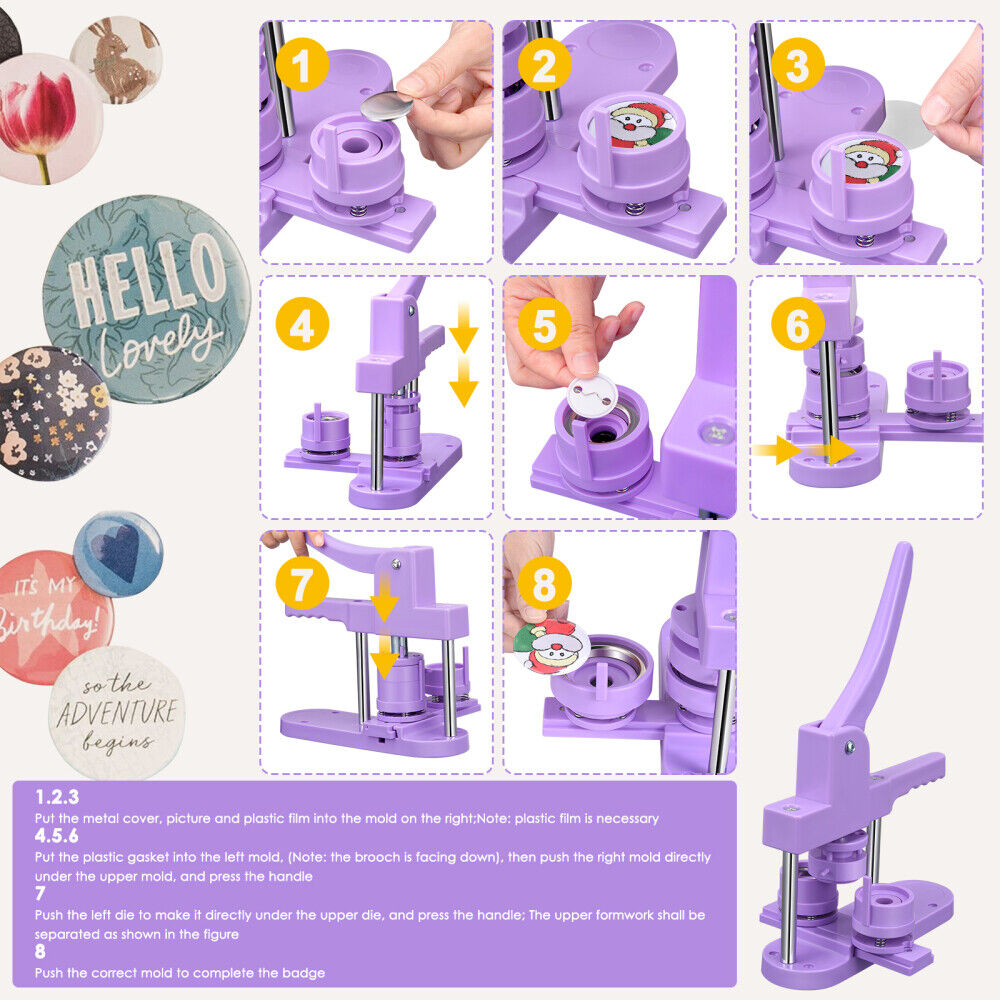
Installing the molds are important steps. Please do not install the mold in the wrong orientation. In most cases, subsequent making failures are caused by mold installation errors, so please follow the instructions and videos to install
Making Button Badge Steps
Button Making Problems - Solved Common Crimping Problems
Your first thought is usually that the machine is broken or the parts are defective but it is extremely rare that either of these is the case.
Q
uestion 1:"Why are my buttons coming apart" or "Why is there mylar not tucked in on the side of my button?"
Make sure there are no problems with the installation. If something goes wrong with the installation, all subsequent steps will fail.
One of the most common causes is that your paper is too thick or too thin. We recommend using 24-28 pound copier paper.
wrong circle graphics. Your graphic has to be cut exactly and even. It should not be bigger than the mylar and the edges need to be nice and even.
You need to push the handle down with a bit of force in the last press. It is best to hold the handle tightly with your hands when pressing for the last time so that the upper and lower molds can be tightly combined with each other.
The top die may become loose after a long time of use. If the mold is loose, that's maybe the cause you failed pressing. Because the vertical force between the upper and lower molds cannot be applied when pressing. Tighten with an L wrench before installing the upper mold if it needs(Do not over-tighten, make sure the upper die can rotate properly)
Don't forget to put the metal pin that holds the sliding mold fixing. If there is no metal pin, the force of the upper and lower molds will not be uniform, which will cause the button to unsealed. Metal pin is easy to lose, so we've included a few extras for emergencies
Only put one piece of paper and mylar at a time, too thick material can cause jamming and seal failure. Since papers or mylars are easy to stick together, you may not notice how many layers are there when putting
Qu
estion 2:Why is my metal cap stuck inside the mold and won't seal after the last press?
1
.
Please use an intact metal cover, not deformed. Do not reuse failed metal cover.
2.When the pinback button is put into the mold, the up and downside are wrong. The correct button is with the pin side down
3. if the metal cap stuck inside the top mold, press again to let it off
Payment policy
We accept paypal/ credit card payment via PayPal only and only ship to Paypal CONFIRMED address (NO PO BOX).
Please note that all payment should be completed within 7 days after auction/buy now end.
Please make sure you understand our Payment method and Shipping policies before purchase.
Shipping policy
1. Items are generally shipped within 1-3 business days from our warehouse after your payment has been cleared (Sat. & Sun. & Public holiday excluded.)
2. We have multiple warehouses located at CA and NJ. Products will be shipped from whichever near to our customer location.
3. Shipping takes about 3-8 days to arrive, depending on the customer location. Any issue during transit, feel free to contact us. We will surely take care for u.
Returns policy
Please make sure you understand what you are bidding/buying and contact us for all the information you may need before you place an order.
All products are thoroughly inspected prior to dispatch
We accept return of 14 days of receipt, please make sure the return item must be in original shape/packing and working order
Buyer pays for all return postage costs and 20 percent restocking fee
Return item must be shipped by registered mail with tracking number
About WARRANTY
All equipment and salon furniture carried by us comes with a limited 1-year warranty,except hydraulic pump for limited 2-years. Our limited warranty does not cover the damage caused in improper installation, excessive use or alteration.
For more information about warranty,please contact us
Contact
Please contact us for any further information or questions , we will reply you ASAP
